When you want to show content on physical screens in your venue, and Peppered has already prepared the module for you, you can follow the steps below to create content for your narrowcasting feeds.
General explanation
Setting up a narrowcasting feed consists of 3 parts:
- Channels
- Broadcasts
- Slideshows
Channels are used to distinguish what feed you want to show on a certain screen, in other words, where you want your content. You can use the same channel on multiple screens if you want to show the same content on them, or you can make a different channel for each screen if you want to show a different feed on every screen.
Using Broadcasts, you can define when your content has to show up on the screen. You can add multiple broadcasts to one channel if you want to change between content during the day and at night.
The Slideshows determine what you want to show. You can choose between different kinds of elements: a clock, featured events, or custom slides (for a bar menu, for instance). You can also define how long each slide is shown before going to the next slide.
How to set up a feed
To set up your feed, follow the steps below:
1. Add a channel
Click on Add channel to add a channel, fill in the desired name for the channel, and click on Save. We advise you to give them recognisable names according to the place where the screens will be, for instance, foyer/bar/garderobe/ingang, so you later know where the specific channel is shown.

Your channel is now added to the Channel mixer.

Each channel comes with its own url you can directly display on your screens.
Just go to [yourdomain]/nc to see a list of all your channels. When your website has a multi lingual setup, the narrowcasting offers a separate channel for each language.

2. Add a slideshow
Click on Add slideshow below the Channel mixer.

A window opens where you can input details about the content you want to show.
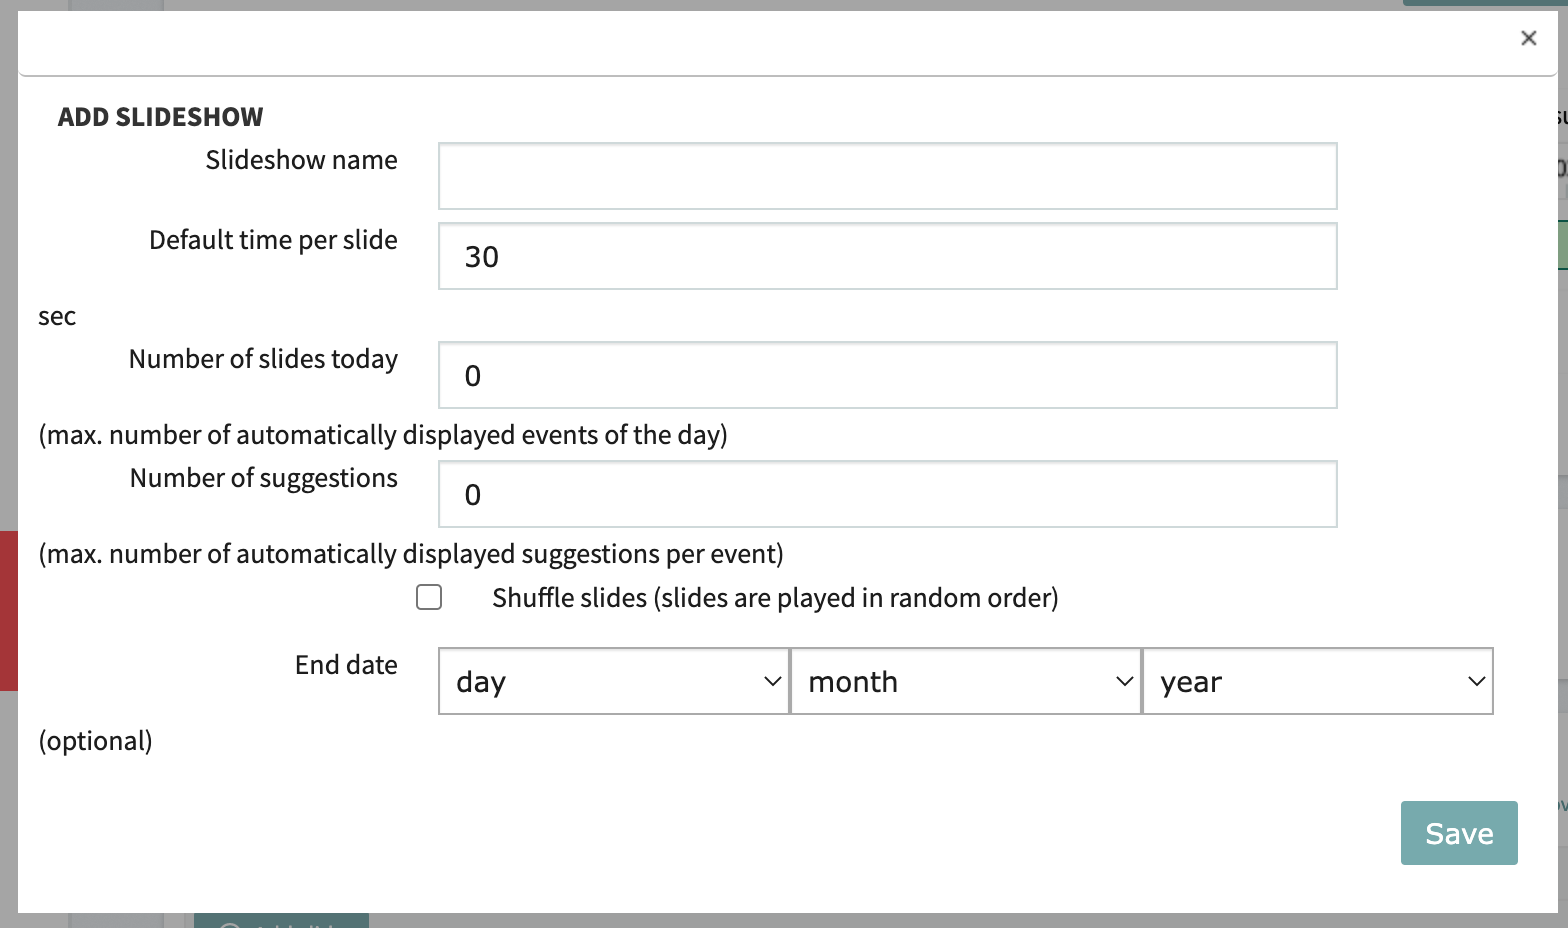
We advise you to give this slideshow a specific name related to the content that is in it or to the specific event for which you want to show this slideshow (so, for instance, if you want to make a default slideshow to welcome visitors, you can call it Welkom bij theater X, is you're making a special narrowcasting slideshow for a specific festival, you can call it Festival 2022). This way, you can easily distinguish the different slideshows in the Channel mixer later on.
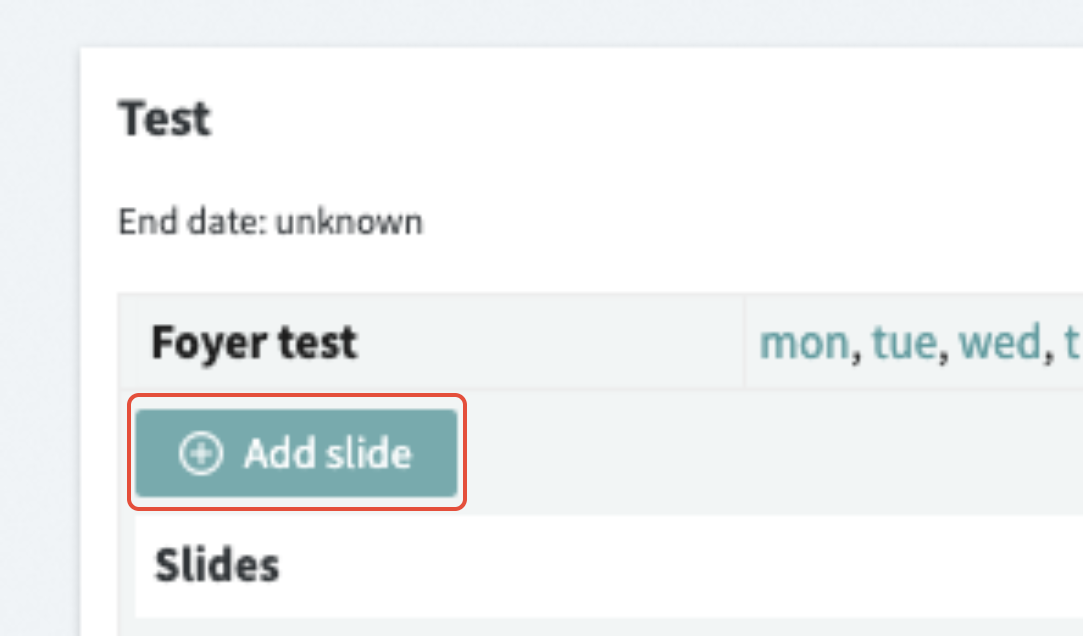
3. Add slides to the slideshow
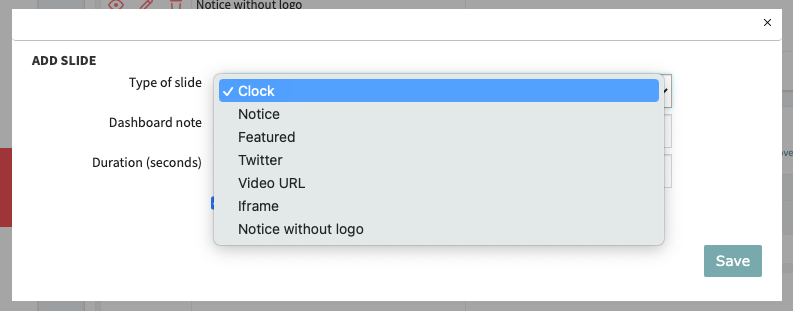
Find the slideshow you want to add slides to. Click Add slide. You'll get a window where you can choose what sort of slide you want to add.

4. Add a broadcast
Click on Add Broadcast, either on top of the screen or directly in the channel.


This opens a new window where you can put in the details of when you want your slideshow to play on the channels (i.e. screens).
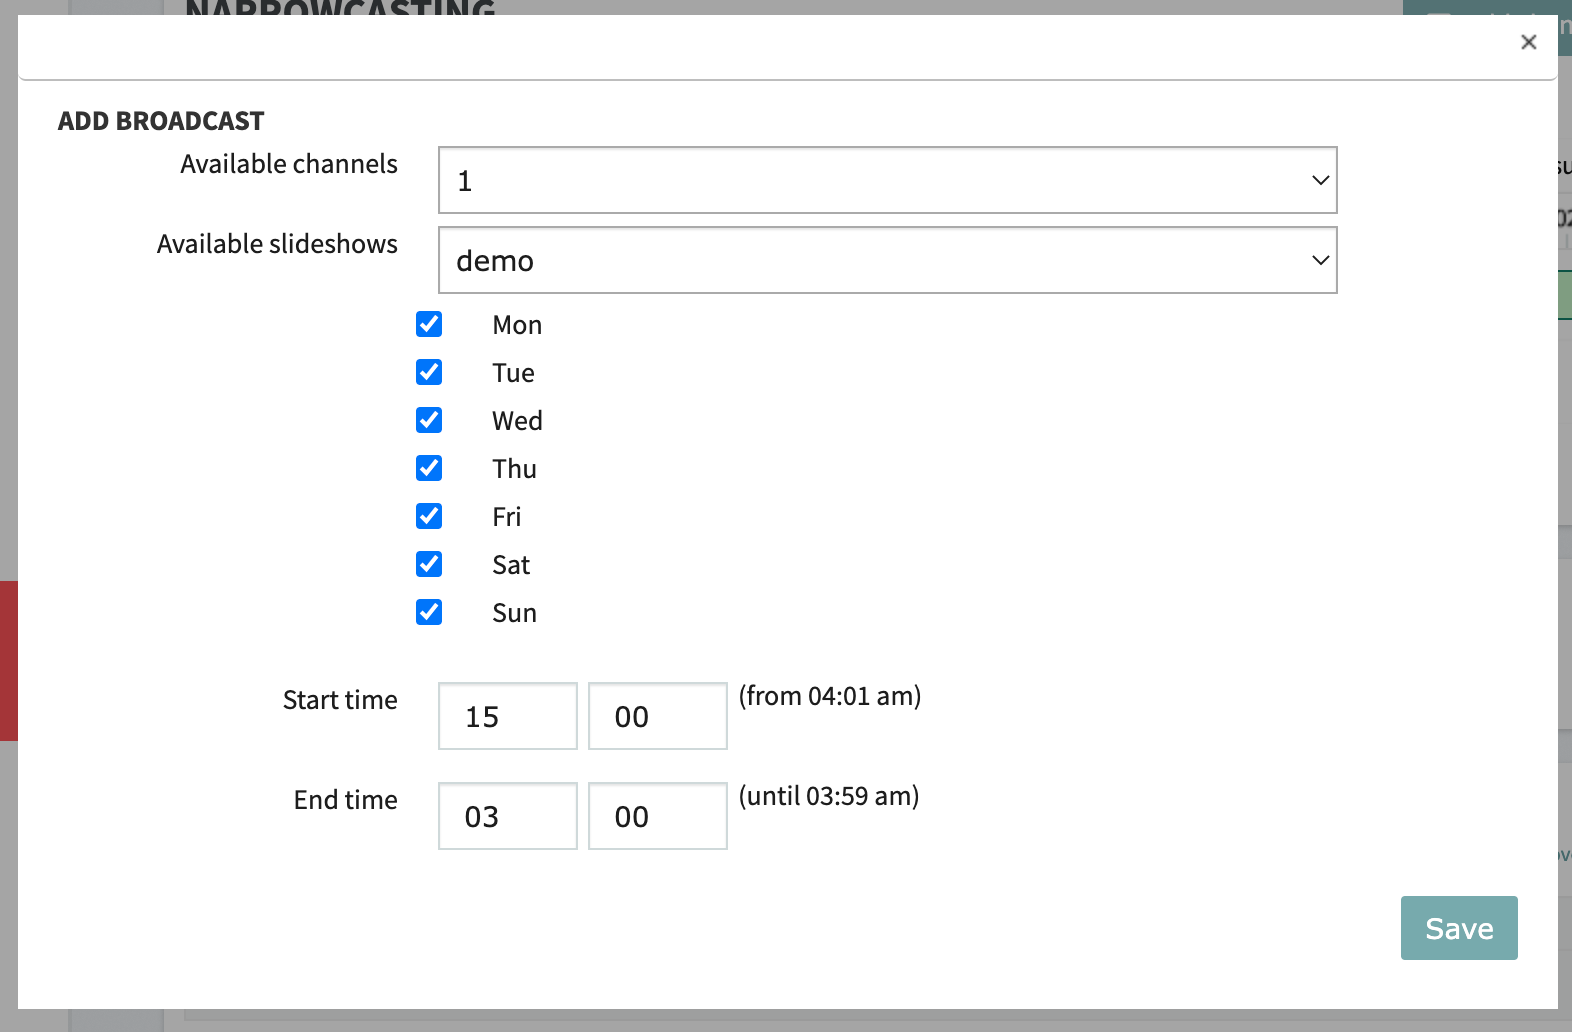
Select the correct channel and slideshow, and then you can select what days and hours you want your slideshow to play on that channel.
The system needs to reload the narrowcasting feed every night. Therefore, as broadcast can be shown from 4:01 am until 03:59 am. In the two minutes in between, the feed is reloaded.
Explanation of the narrowcasting module page items
Opening the narrowcasting module, you can find several overviews. We'll discuss how they all work below.
1. Channel mixer

In this channel mixer, you can see all planned/active broadcasts sorted by channel (blue box).
In the red box, you see the days of the week. You can switch days by clicking on them.
In the yellow box, you can see that there are three slideshows planned for today, starting and ending at different times. If you want to adjust anything about the broadcast for that specific day or for the whole series of that broadcast, please see the chapter How to adjust settings.
2. Slideshows overview
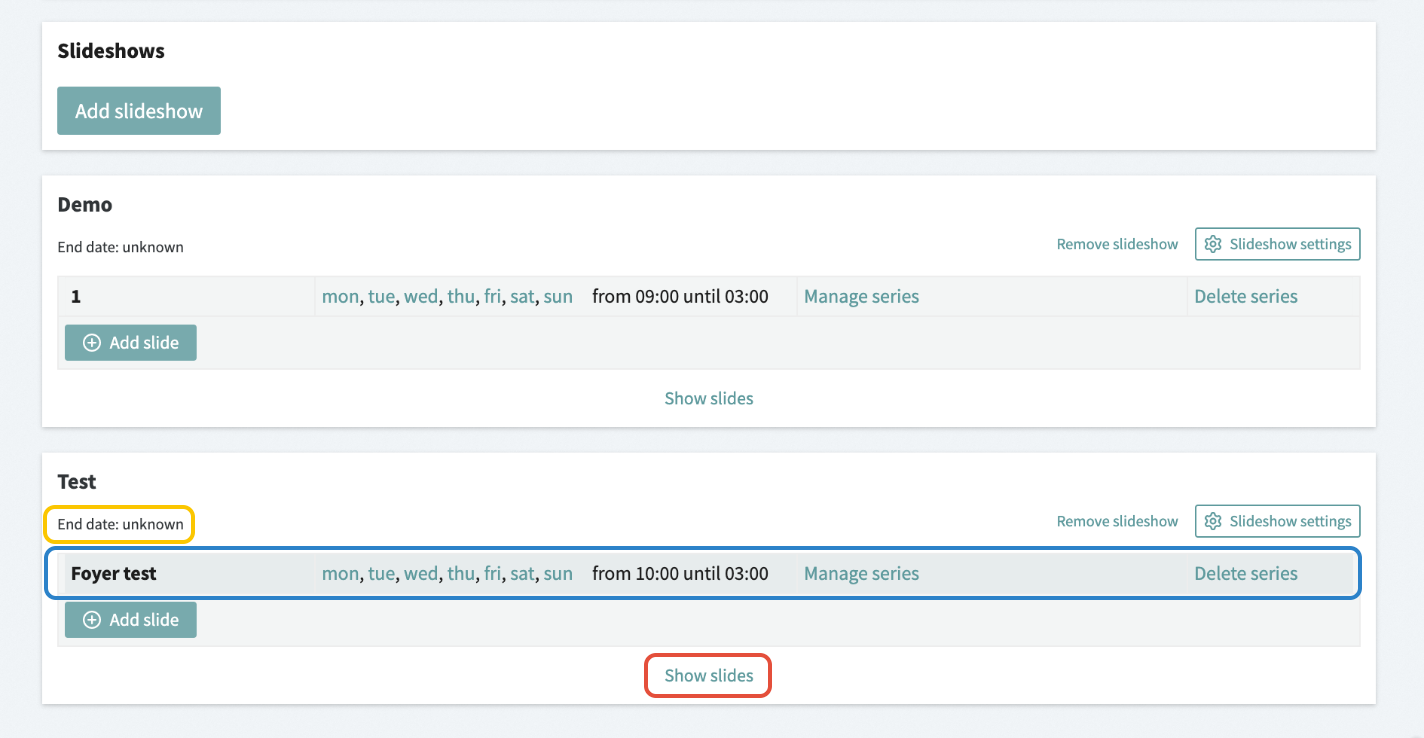
Below the channel mixer, there is an overview of all created slideshows. Every slideshow has its own box, so for instance, in the picture above, there are two slideshows: Demo and Test.
You can see whether there is an end time for this slideshow (yellow box).
You can see on what channel that slideshow is broadcasted (blue box).
You can expand the box showing all slides by clicking on Show slides (red box).
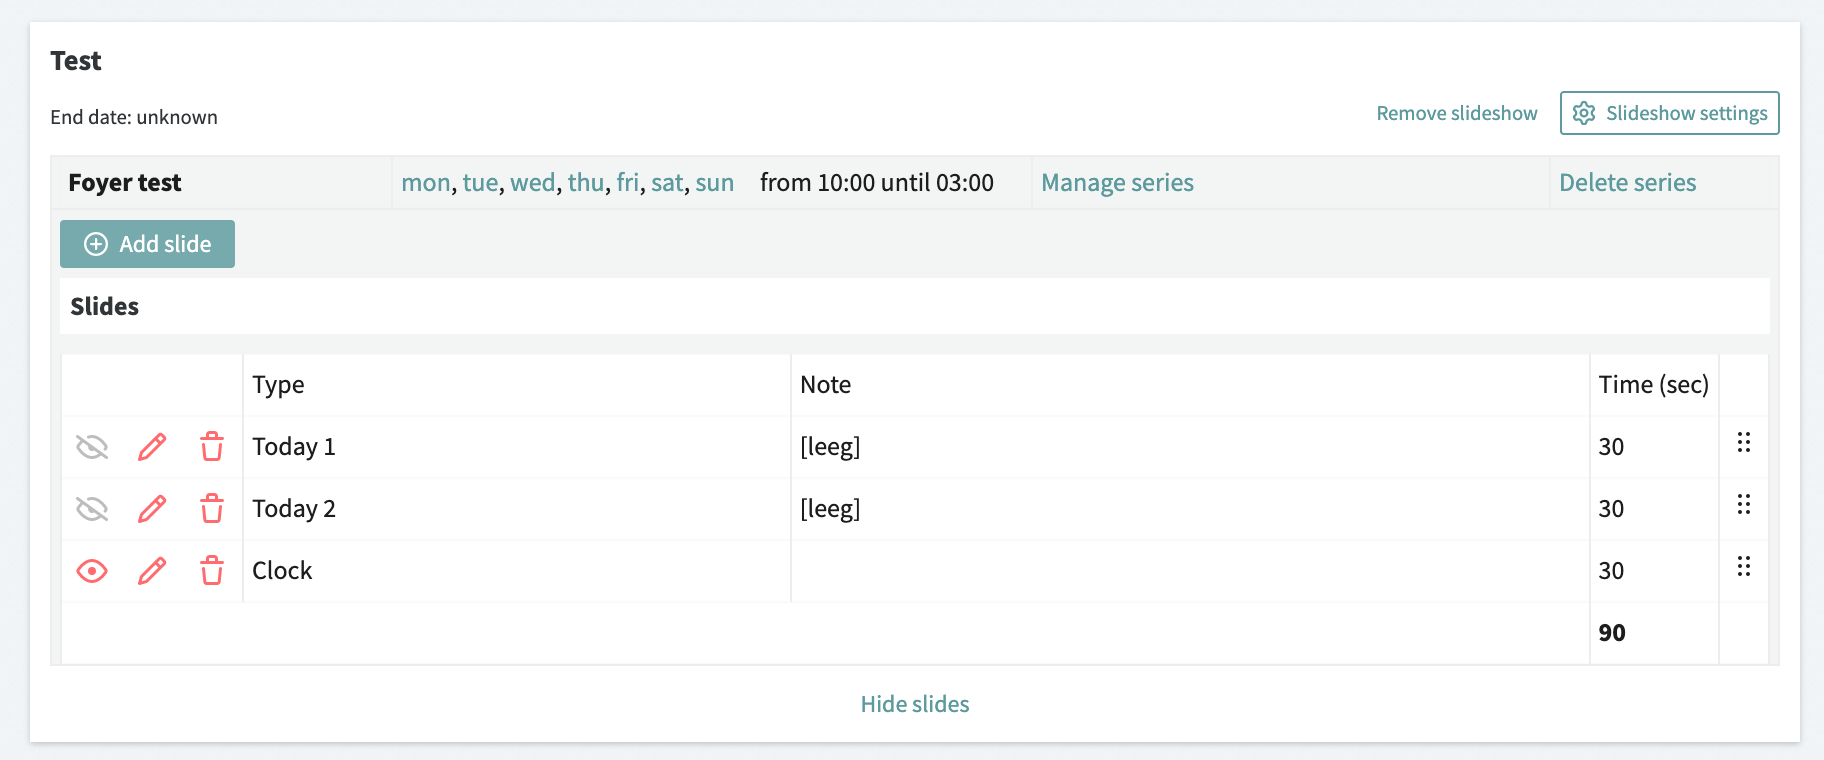
This will show you what slides are in this slideshow. Some of them are inactive, either because there is no automated content to show or because it is manually disabled. You can see whether a slide is active if the little eye in front of it is red.
How to adjust settings
1. Giving a certain broadcast priority over others
When you have multiple broadcasts on one channel (like the example of the channel mixer before), you can arrange what broadcast has priority over other broadcasts. For instance, if you have a default broadcast for welcoming your visitors to the theatre that plays all day and want to show a slideshow for a specific event from 8 pm to 11 pm, you'll want the system to give the event slideshow priority over the default slideshow. You can do this by changing the ranks of the slideshow.
- Find the slideshow in the list of slideshows beneath the Channel mixer.
- Click on Manage series.

- Define the rank of that slideshow. One is the highest and will always have priority over lower-ranking slideshows.
 This way, you can make a setup for all your broadcasts.
 - If you want to do this trick for only a specific day, click that day in the Channel mixer and click the broadcast you want to change.
2. Add/remove slides in a slideshow
When you add a slideshow to your narrowcasting module, it will contain a few default slides. But you can customise the slideshow by adding and removing slides.
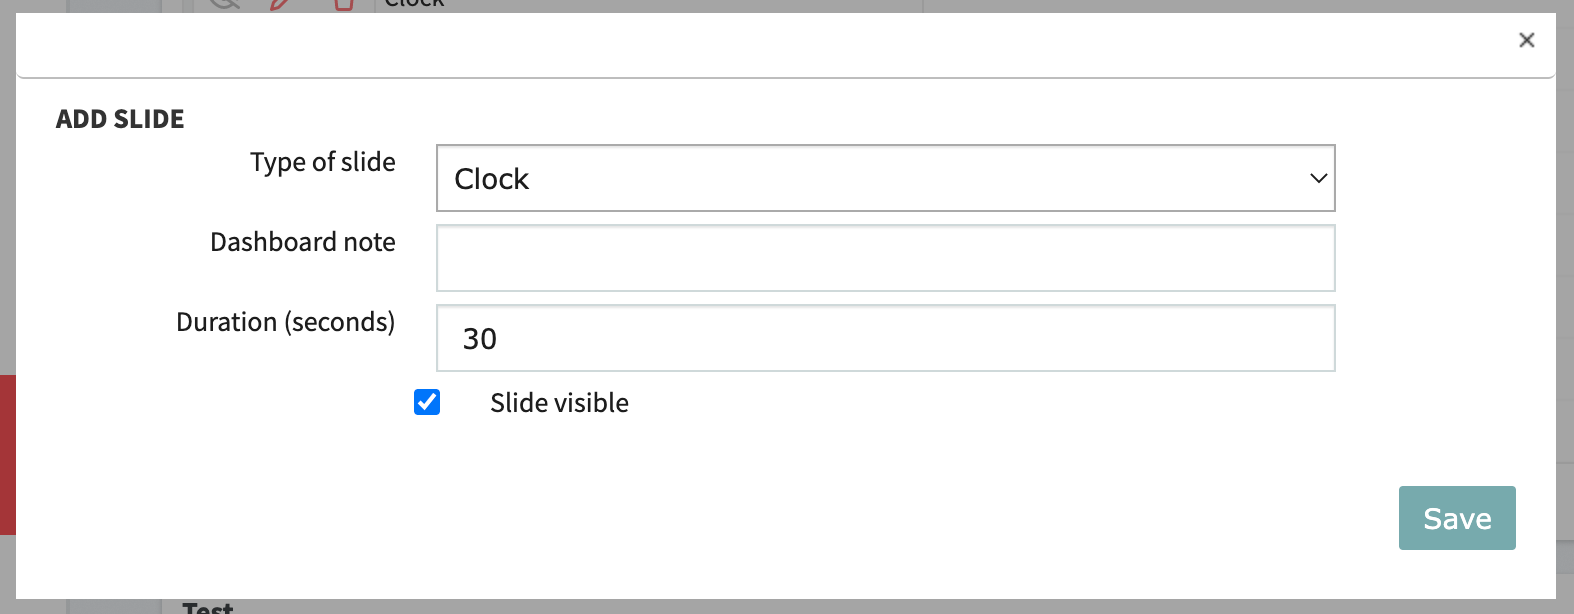
- Click on Add underneath the slideshow that you want to customise.
- A new window opens. Here, you can choose what sort of slide you want to add and how long you want this slide to be presented in the slideshow.