Note: before you can start creating events, you will need to create a production, which entails the content of your show.
Importing or creating events
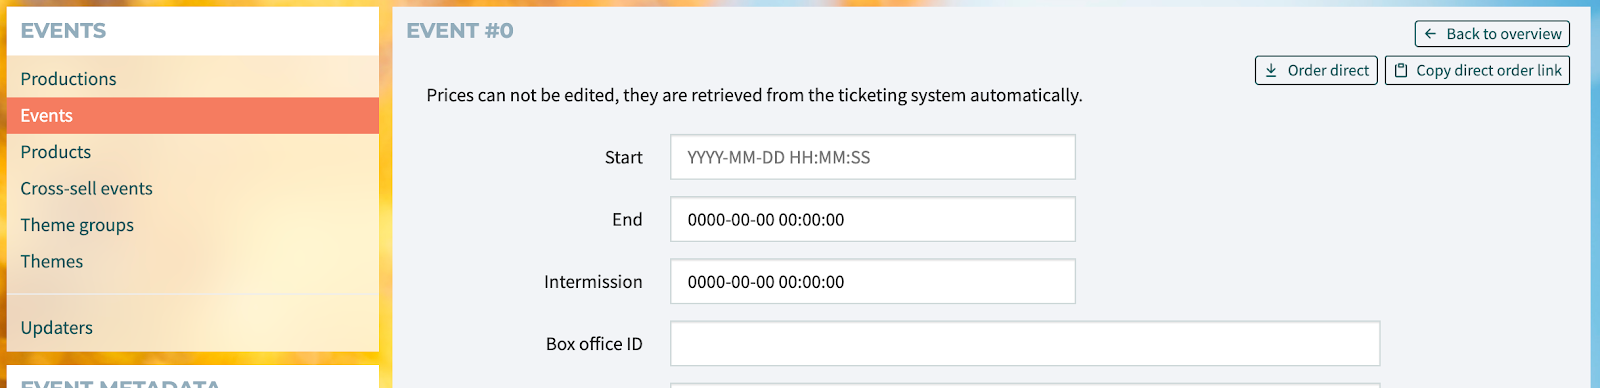
In most cases your events will be automatically imported from an updater, such as Yesplan. By clicking on "Add Event" you can also add events manually. Within this "Events" module you will add the dates and times of the show: fill out the "Start" and preferably also the "End" time of your event. "Intermission" can be used if there is a break during the show.
The "Box office ID" comes from the ticketing system. Thus, this field is only important to clients using the Peppered platform with a ticketing integration. When you import an event with an event updater, it will automatically connect the Box Office IDs from your ticketing system to Peppered. When you manually create an event, you will have to look carefully to add the right Box Office ID to prevent errors or miscommunication between the systems. This ID is necessary to be able to book tickets on the website.
The "Event Code" can be left empty if you add the event manually. If you use an updater, an event code will be created for you.
If the booking does not happen on the website, you should use the "External Order URL" to guide your guests to an external website where they can buy their tickets.
In case of an online event (streaming), edit the text of the "Online Event Button". This way you can modify the text of the e-ticket button on the agenda overview (instead of "my e-ticket" you could have "watch the show", for example).
Use "info" to add text that describes the specifics of your event, for example a "premiere" or "try-out". If you would like to add more information on the e-ticket you can add this in the "E-ticket information" field.
For some events you might like to set rules, for example that you can only buy 1 ticket per order. To do so you can use the option "Max Tickets per Order". This could be very useful when selling a livestream event for which people need to buy one ticket per household, instead of per person. To guide the guests you can already make clear to buy max. 1 ticket.
Per event you can select a "Status". If the status of your preference is not present here, you can add a status yourself within the "Status" module (Dashboard > Event Metadata > Statussen). Some statuses will be updated automatically. When an event is sold out, the status will change from ticket available to sold out (or waiting list).
For Belgium only, there is the "Uitdatabank ID". This ID is used to communicate with the Uitdatabank.

It is important to select the "Production" that belongs to this event. As mentioned before, there is no event without a production!
Select the "Hall" where this event will take place. When your hall of preference is not present within the list you can add a new hall within the "Halls" module (Dashboard > Event Metadata > Halls). You will need to select a hall for each event, even for online events (in this case the hall can be named "at home"), and also for non-seated events.
Your event will also be part of a "Group". This field is important to determine from which day on your event is visible on the website and/or bookable.
Note: "Groups" work together with "Seasons". So if you cannot find back your event and your group is set on the correct date, please check your season as well (Dashboard > Event Metadata > Groups / Seasons).
"Properties": some properties can be selected.
Note: be aware that some properties like "featured on home" are active either in the "Productions" module, or in the "Events" module. If you are not sure about some properties, please contact a Peppered Expert for more information.
For Belgium only, there is the option "Exclude from Export". This ensures your event will not be exported to the Uitdatabank.
Do you have a long-term event? Please select "Show till end time", otherwise your event will disappear from the agenda after the start date.
For livestream events it is useful to add visitor tags to every purchase. Add the visitor tag you would like customers to get once they bought a ticket for this event. The visitor tag will automatically be added in this person's account.