Banners on your website are a great way to draw attention to specific campaigns and offers. There are a lot of options when it comes to banners. Banners mainly focus on the homepage but can also be added to a number of other pages. You can always contact a Peppered Expert via the service portal to add or change banners on other pages of the website.
Banner types
To display a banner at a certain spot, you will have to select the proper type for your banner in the "Banners" dashboard module (Dashboard > Website > Banners).
Showcase
This banner is always at the top of your homepage in the full width of the screen. It can contain a video (without sound) instead of an image.
Note: the video will not play on most mobile devices, so make sure you also add an image.
Text and button can be added optionally.
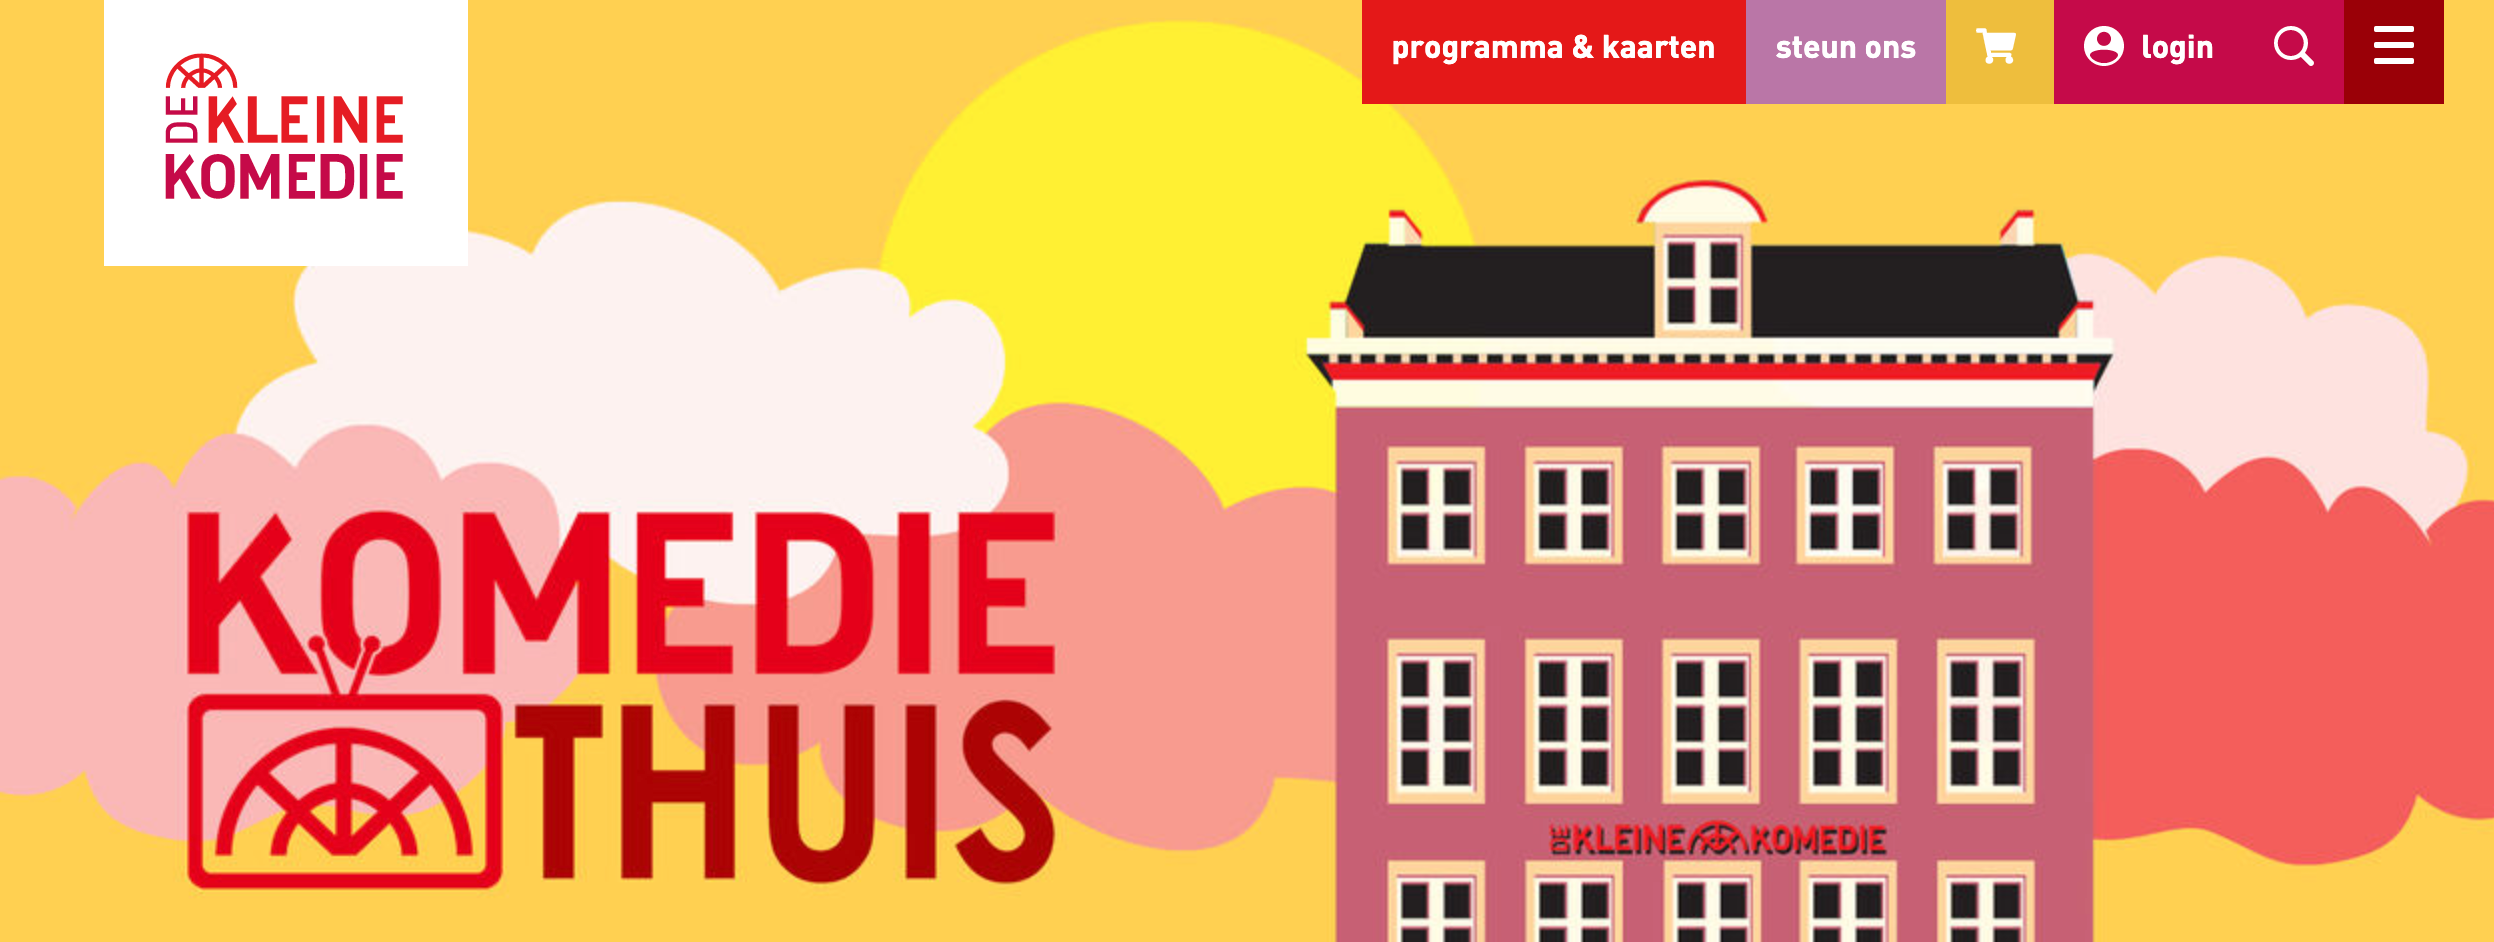
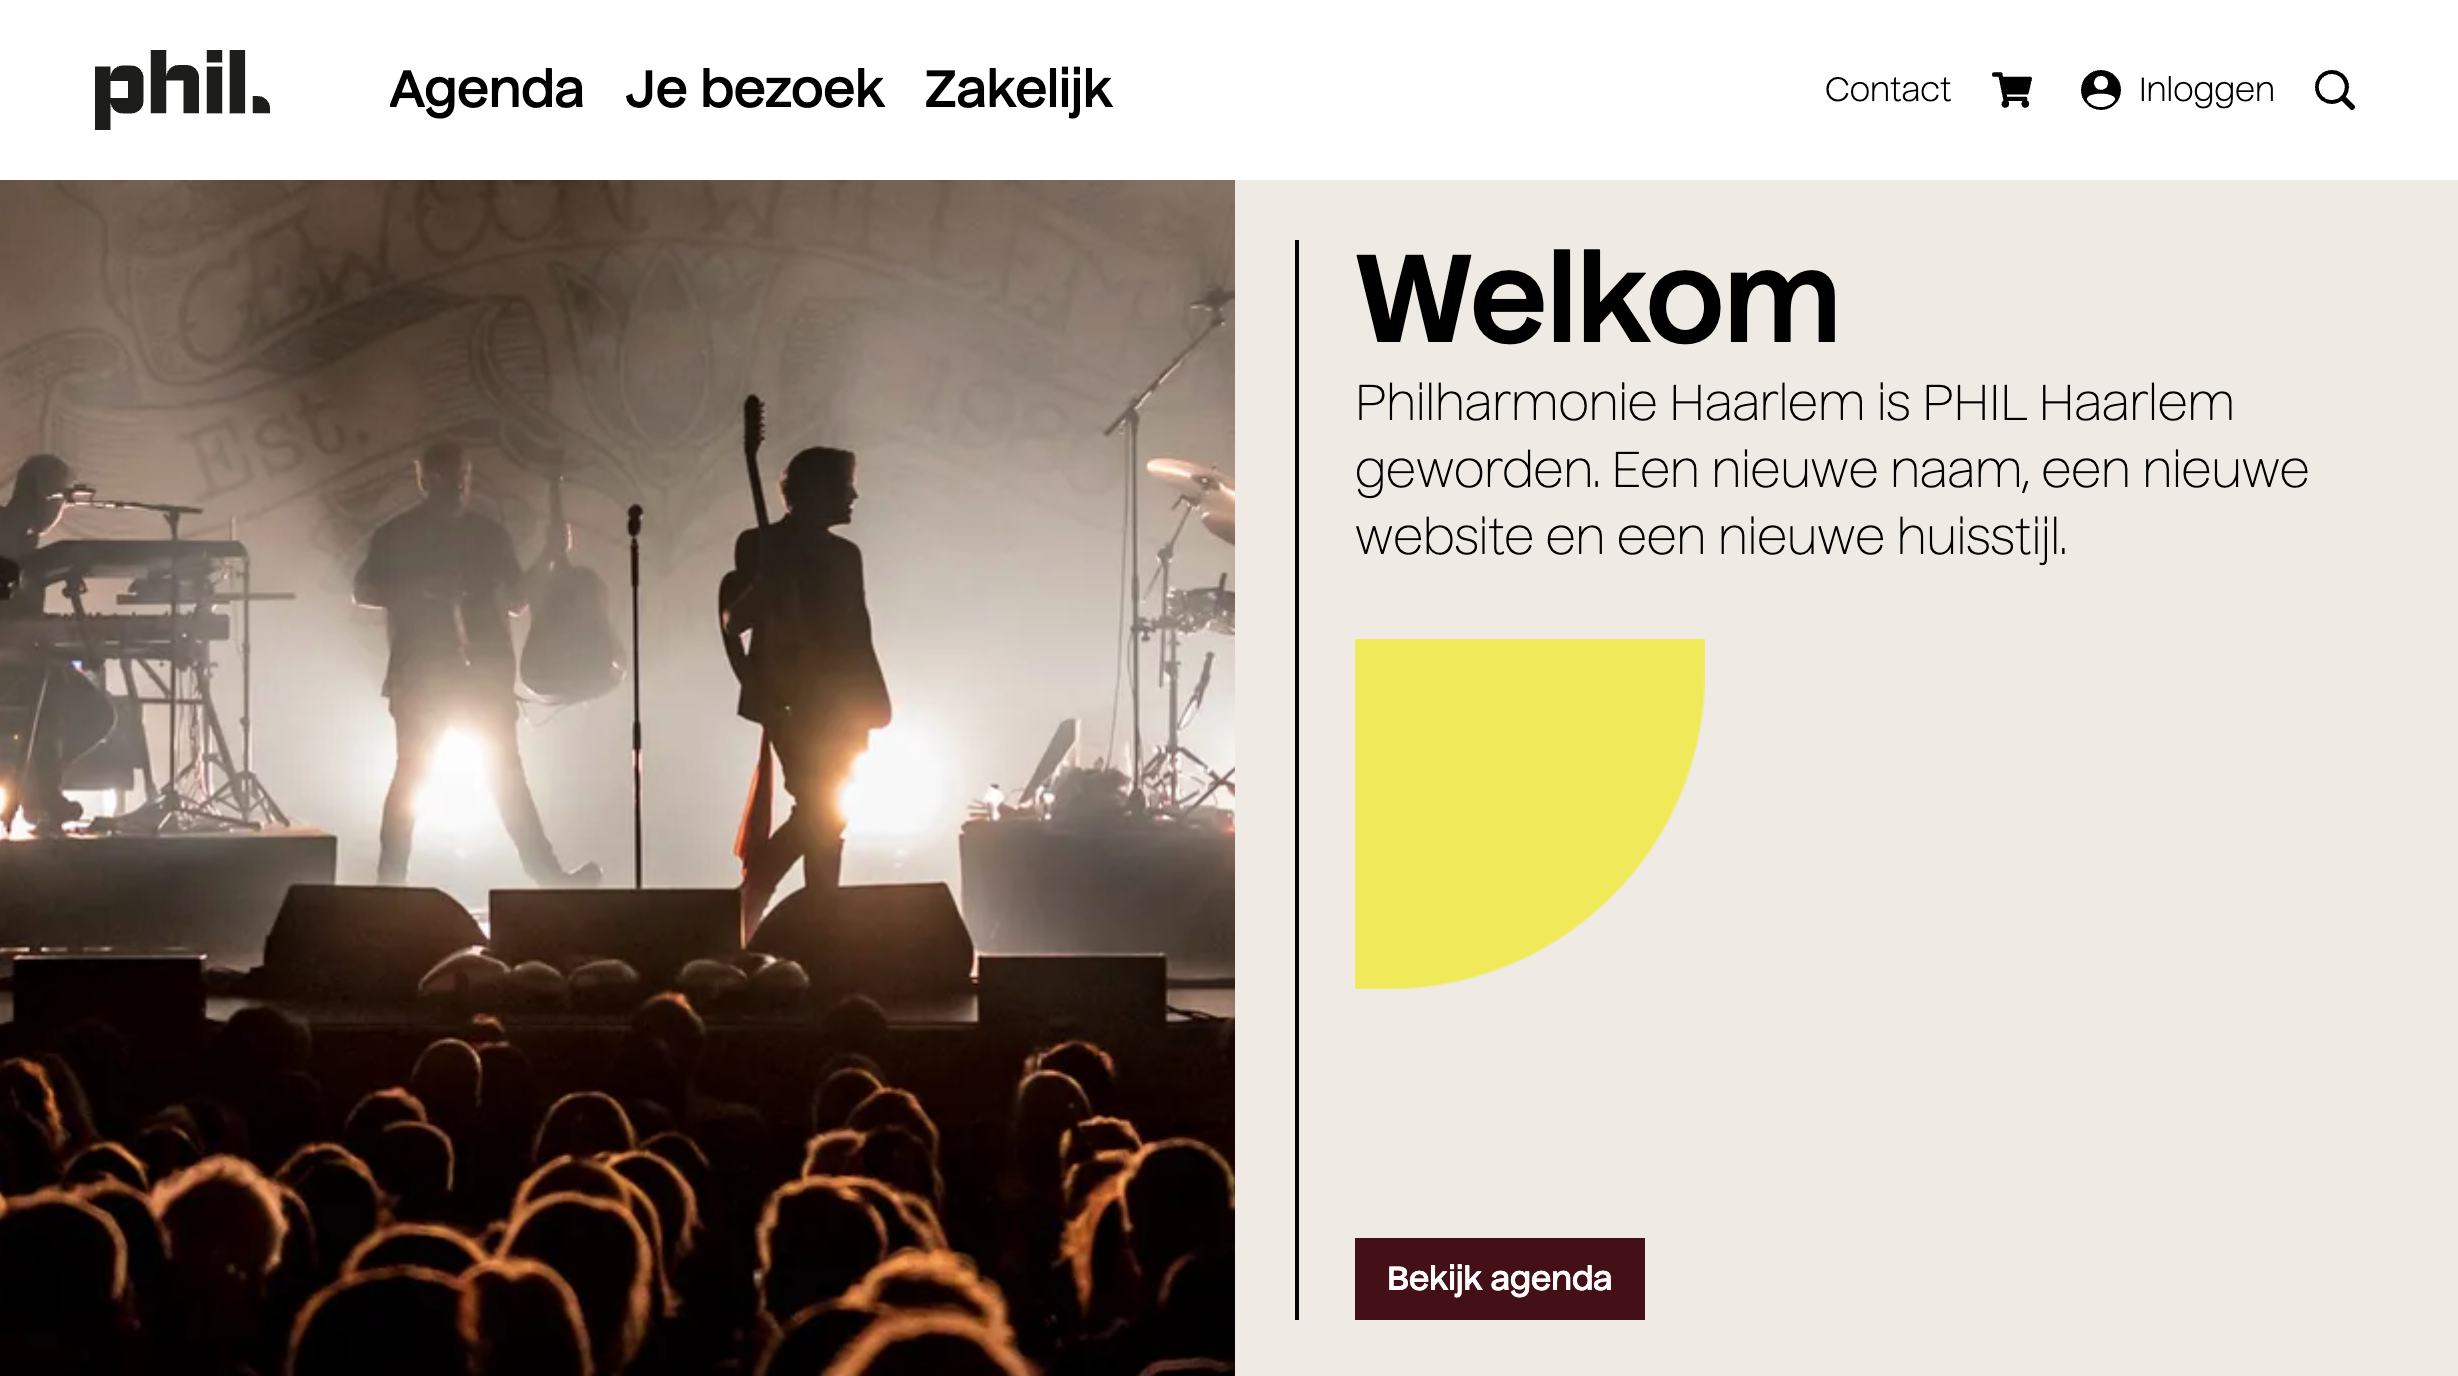
You can select different layouts here, like a split image/text option.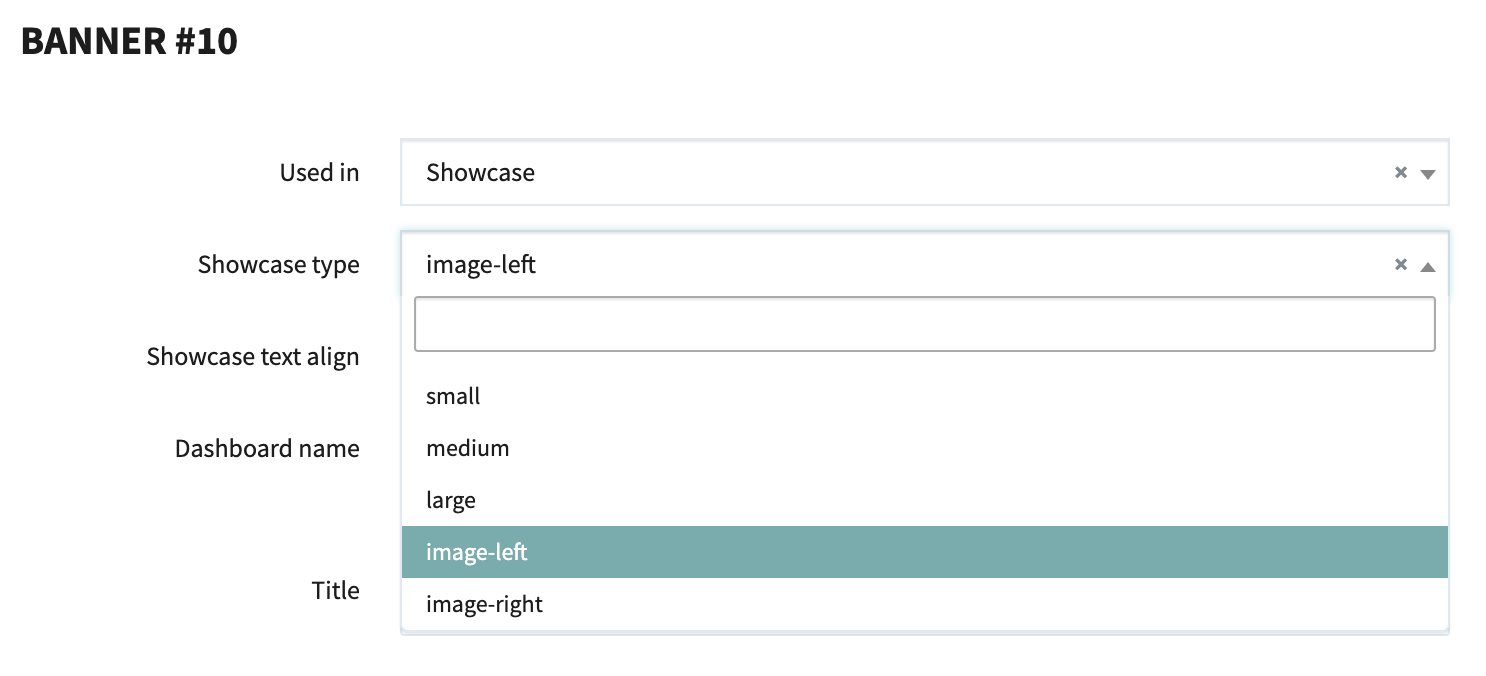
As of version 183 the showcase can also be a slideshow of multiple showcase banners.
The setting in the control panel is under "core" and is called "Showcase slideshow". By default it's "off".
The parameter to autoplay the slideshow goes into the header sticky part and is called "autoSlide". The value for it is the number of seconds each slide is visible before it slides to the next. So a good value is typically for instance "4".
Featured (flexgrid)
This type of banner will be shown in the featured grid on the homepage. This grid is a mixture of banners, news and featured events. If no featured banner is active, the grid is usually filled with events. The order of banners in the featured flexgrid is as follows:
- Featured news
- Featured banners
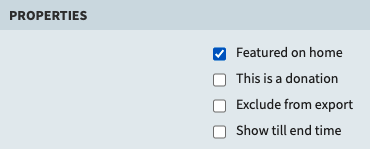
- Events with property 'Featured on home':
- Upcoming events in chronological order

Banner (flexgrid)
This type of banner will be displayed in a dedicated banner grid (other spot on the homepage). This grid is usually below the featured grid. If no default banners are active, this grid will be completely hidden.

Highlight banner
The highlight banner is a little different. A banner with the type "highlight" will not be shown anywhere right away. All banners from this type will be shown in a dedicated "Website > Highlights" module in the dashboard and can be appointed to several places on your website. The "highlight" type is very versatile and can be used in many different ways. More about the highlight module further down this article.
Sponsor footer
Sponsor banners usually end up in a small row at the bottom of the website. All logos are added by the sponsor footer. You need to create one sponsor banner per logo you want to add to this row.

Order Success banner
This banner will be shown after a costumer finished a successful booking on the website.
This banner can be personalised by using visitor tags. To get a preview from this banner you use "Preview templates" in your "Special Access" menu on your website, and select the "Order success" template to preview it.

The Highlight Banner
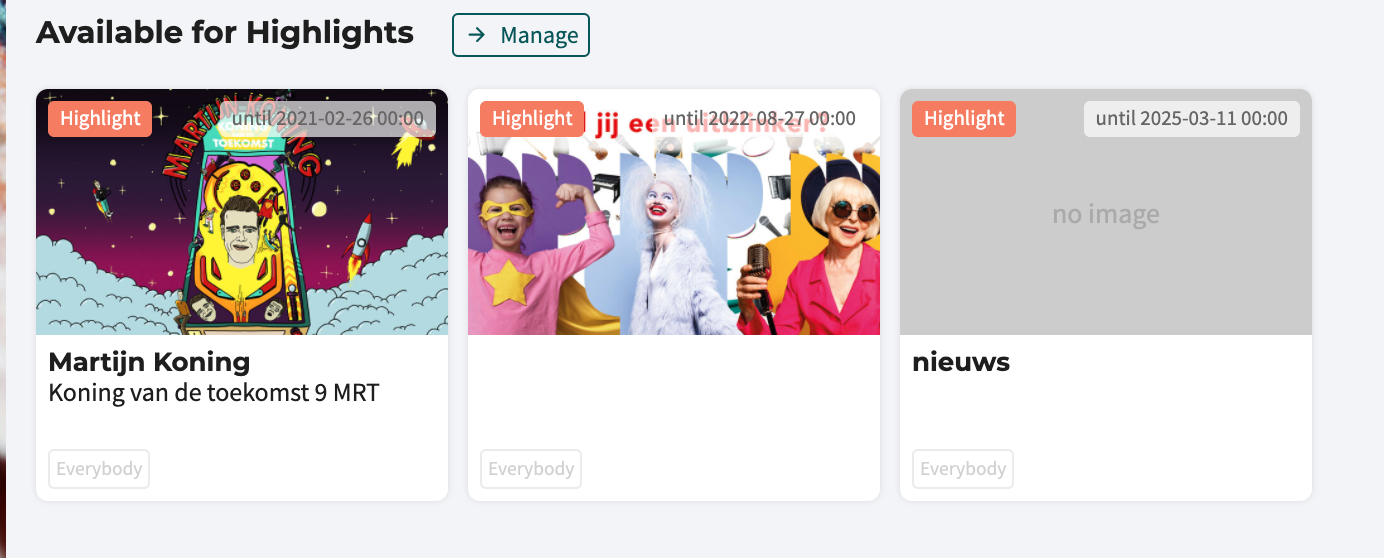
Highlight banners are particularly useful when your website uses two or more similar parts. In the example below the website uses two "coming soon" parts on the homepage. One shows upcoming movies, the other upcoming shows. In this case it is not advisable to use the showcase, featured or flexgrid banner types.
There are 3 steps to make show a Highlight banner on your website.
1. Make a banner in the Banners module
2. Create space on the desired page (for instance, homepage) for the Highlight banner
3. Connect the banner to the Highlight banner.
1. First you design your highlight banner in the "Banner" module.
This is what a "Highlight" banner looks like when you have it ready in your "Banner" module:
2. Then you need to have an empty Highlight banner part on the homepage. You can check if there is an empty one by opening the Highlights module and opening the Highlight banner parts (if there are any) that have 'home' in the name. After opening you can see the linked banner in the field, if the field is empty, the highlight banner doesn't have any content.

If there aren't any empty ones (or any at all) you have to add Highlight banner parts to the Homepage via the Routes and Parts. Go to Dashboard > System > Routes and Parts and click on Add. Make sure you select the right Route and Part. You can add the desired padding and bgColor and maybe other parameters. Then click Save.

3. Now we're gonna connect the banner to the Highlight banner. For each part an entry is created in the "Highlight" module (Dashboard > Website > Highlights).
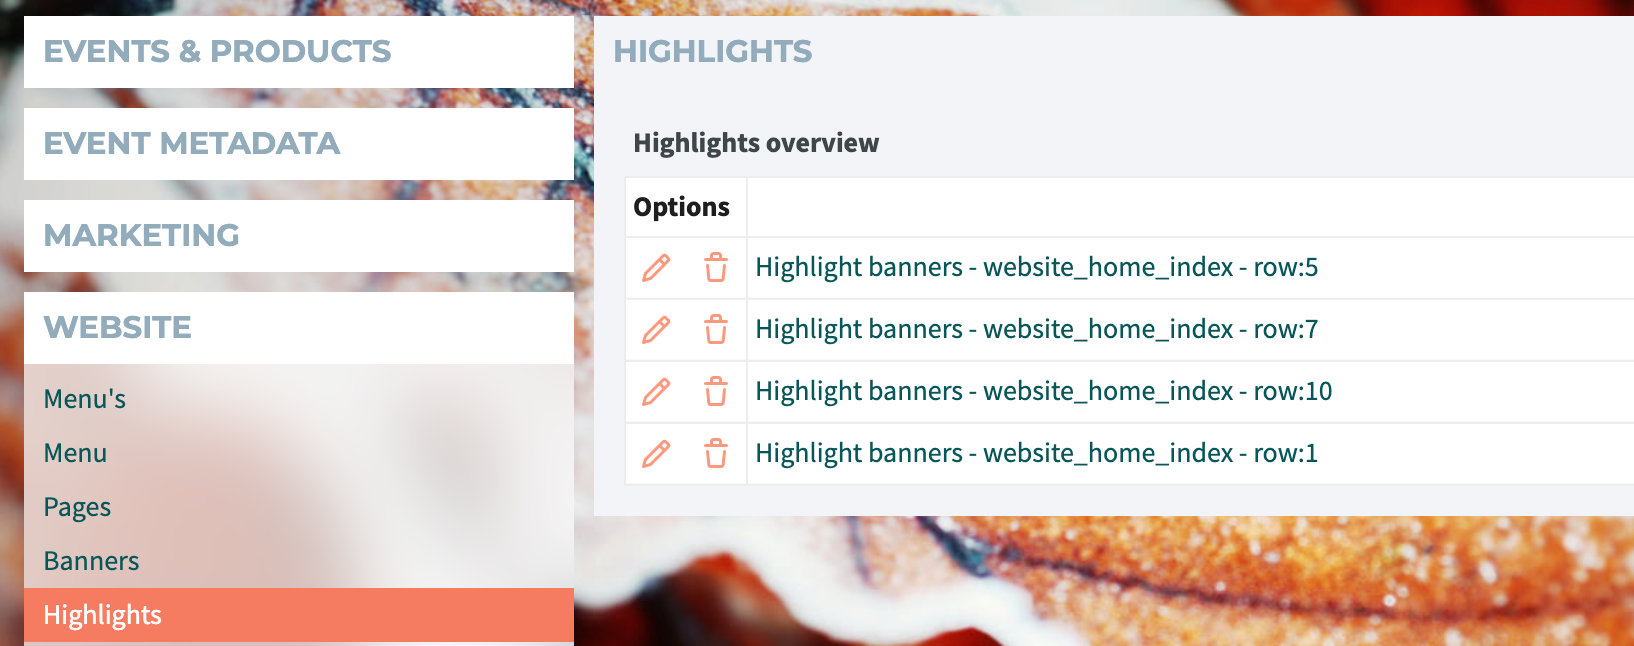
To show a banner in one of these parts, just open the part and assign the correct banner to the part.
In this example there are four different places to add a highlight banner on the homepage ("website_home_index"). The row indicates the position on the homepage.
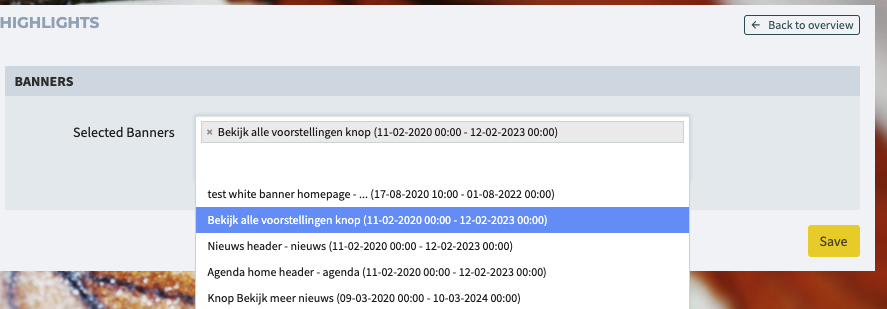
Add your specially made highlight banner to the right part, you can select the right highlight banner as shown below.

Visibility settings for Banners
Banners can have three settings that influence the visibility on the website:

- Yes: The banner is visible on the website*
- No: The banner is not visible on the website
- Advanced: The banner visibility depends on date settings and visitor tags*
*If there are multiple banners for the same area on the website, use drag & drop to set the correct order. The top banner will be shown on the website.
Advanced visibility settings: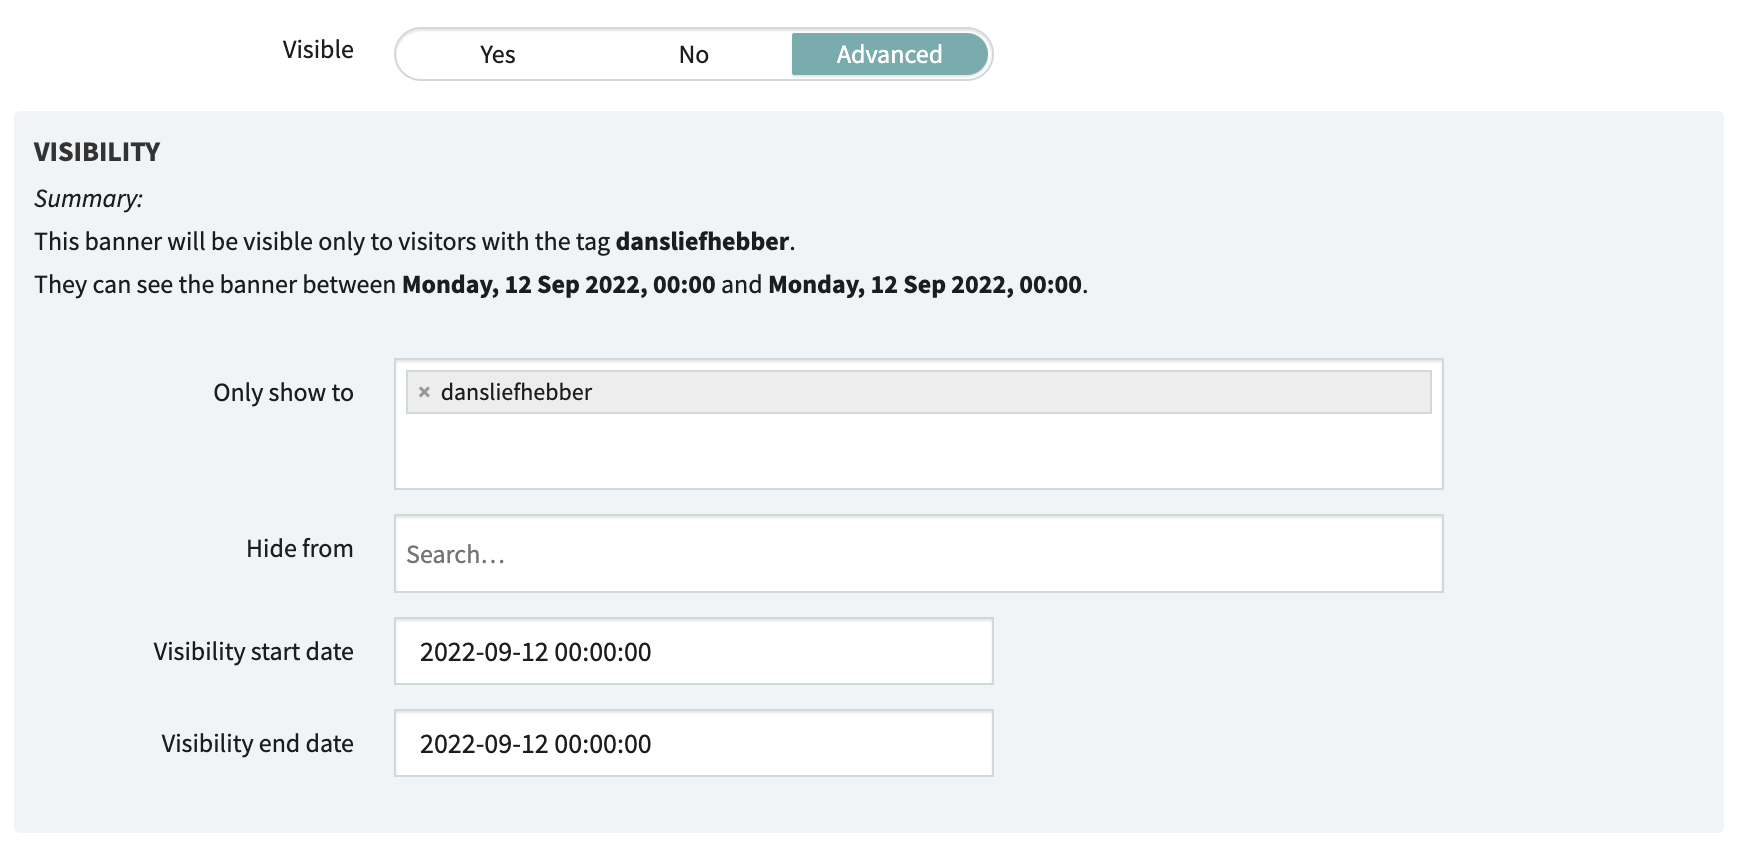
Setting a start date and end date can only be done in the "advanced" visibility setting. These are optional.
You can also show a banner to (or hide a banner from) visitors with specific visitor tags. With this option you could:
- Create a fundraising funnel: show banner A to the general audience with an invitation to become a member or to donate; show banner B to members or donators with an invitation to become an ambassador; and show banner C to ambassadors to invite them to a special event.
- Do AB-tests (or ABCD….-tests if you like!): divide you audience randomly in groups A, B, etc. and try out a different banner (text/image/video) per group. Sit back and check live behaviour on Google Analytics (with e-commerce tracking) to see which one works best.
- Show content based on segment, profile or persona: are you working with segments, profiles or personas? Maybe young people respond well to a nice image but experience seekers prefer an exciting video. Maybe persona A should see a banner for the brochure, whereas persona B should not be bothered with it.
- Show content based on order history: perhaps you have a festival that you want to show as a fullscreen image to visitors that bought tickets last year, but smaller to others. Or a large banner for an event with classical music only to visitors who have bought tickets to similar events earlier.
- Hide banners from visitors that do not need to see the banner. If you are already a "Friend", you don't need to see banners that advertise becoming a "friend".
- Or surprise us with some other campaign! :)
Note: make sure the visitor tag you select is activated in the Marketing > Visitor tags module!
Keywords: homepage banners banner highlight showcase featured flexgrid features personalised visitor tags persoonlijke banners home types voorpagina homepage button